Coinbase Wallet Quest [Tutorial]
Earn $10 in FARM by converting at least $5 worth of USDC into the Beginners farm.
Last update: 4th June, 2024.
Only verified Coinbase Wallet users with mobile devices can participate.
Firs, tget the Coinbase Wallet for your mobile device: https://www.coinbase.com/wallet/quests
When starting the Harvest Quest, you will be asked to connect with your existing Coinbase account. This is to ensure no bots can abuse the quest campaign.
Instructions
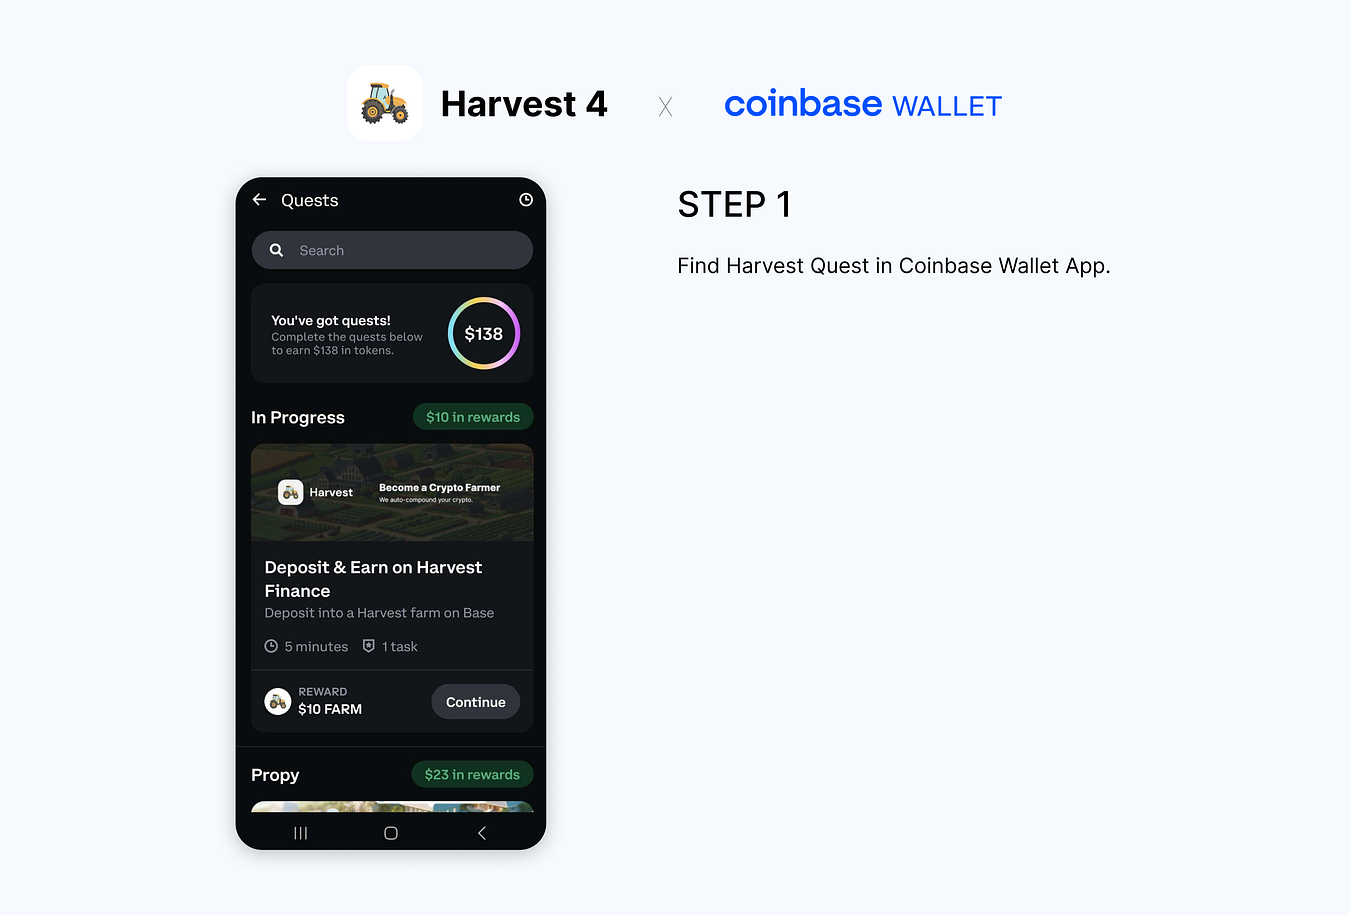
Find Harvest Quest in your Coinbase Wallet and click [Continue]
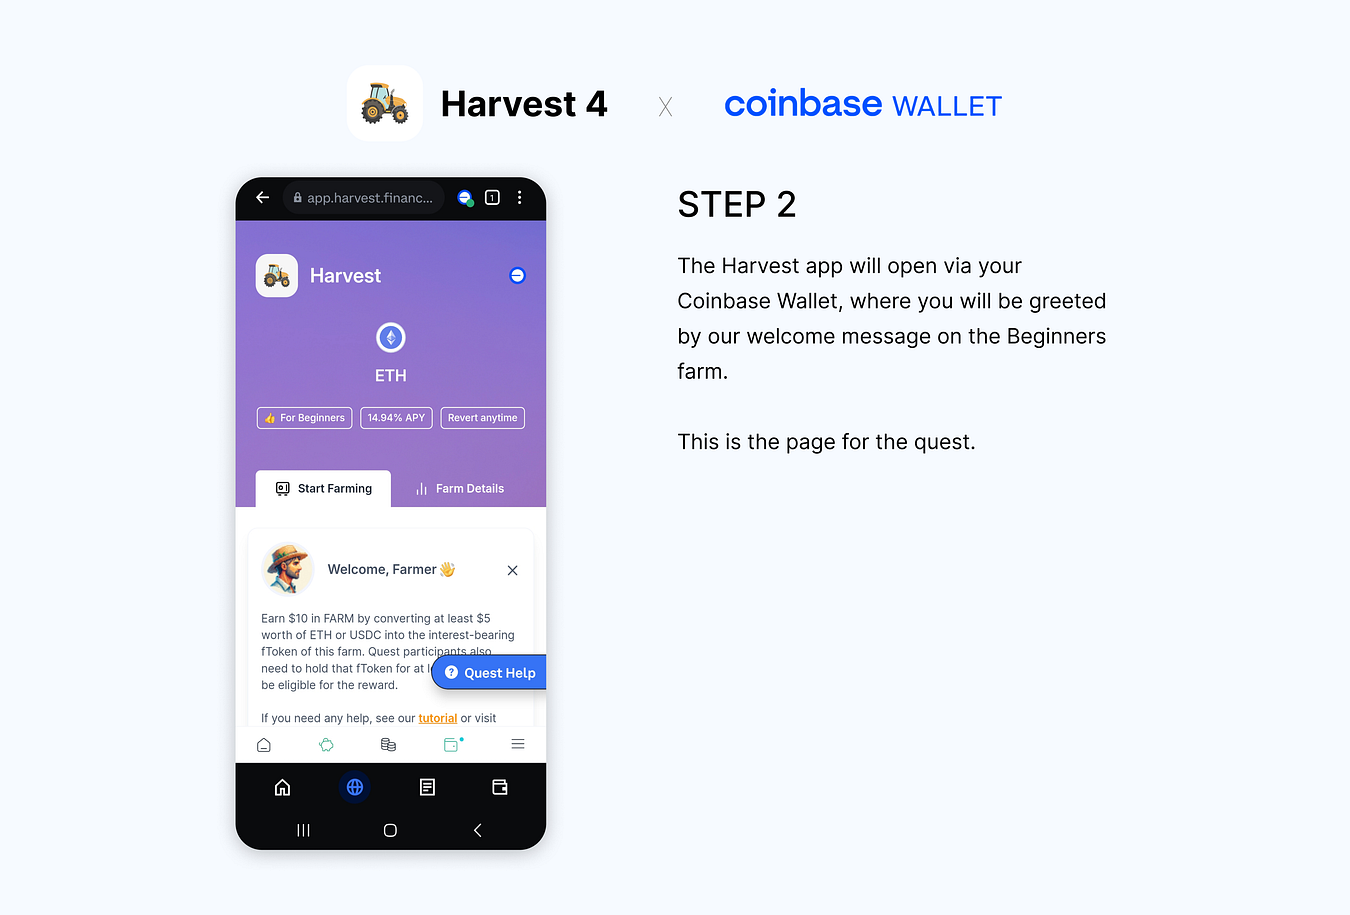
2. The Coinbase Wallet will redirect you to the Harvest’s Beginners page and automatically connect you to the Harvest App.
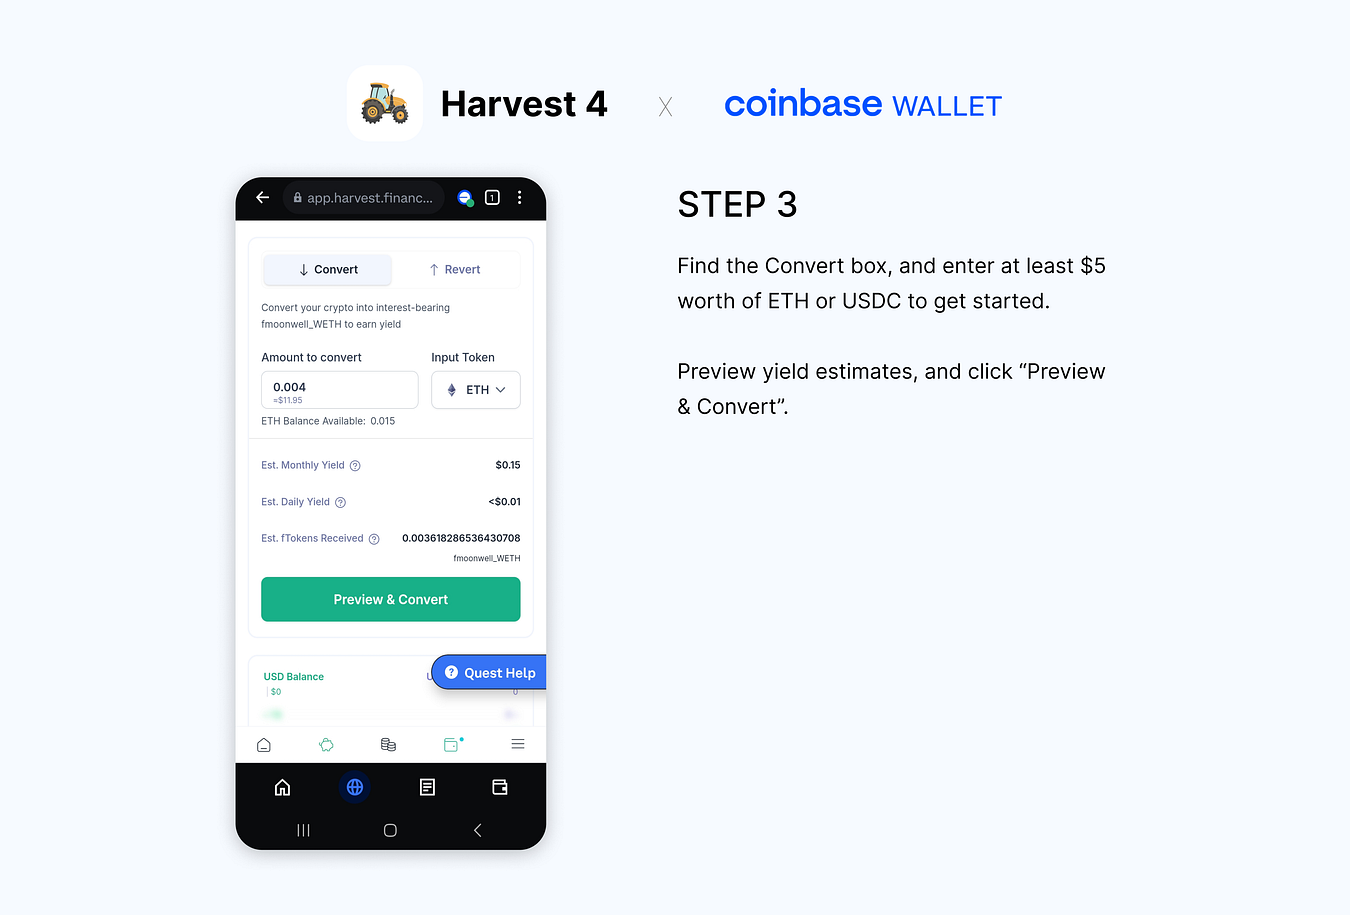
3. Next, scroll down to the Convert box page and insert the amount of USDC [4th June 2024 Update: Please use USDC only for the time being.]. Converting at least $5 worth of crypto is required to qualify for $10 FARM reward.
Tip: Ensure you have some spare ETH in your wallet to cover network fees.
6. Next, click the [Preview & Convert] button. Here, we can ensure the amount of crypto we’re converting alongside the number of interest-bearing tokens we will receive.
Tip #1: ETH does not correspond 1:1 to interest-bearing fTokens. That’s why we received ~0.0036 fToken for 0.004 ETH on our screenshot. However, their USD values are pretty much the same.
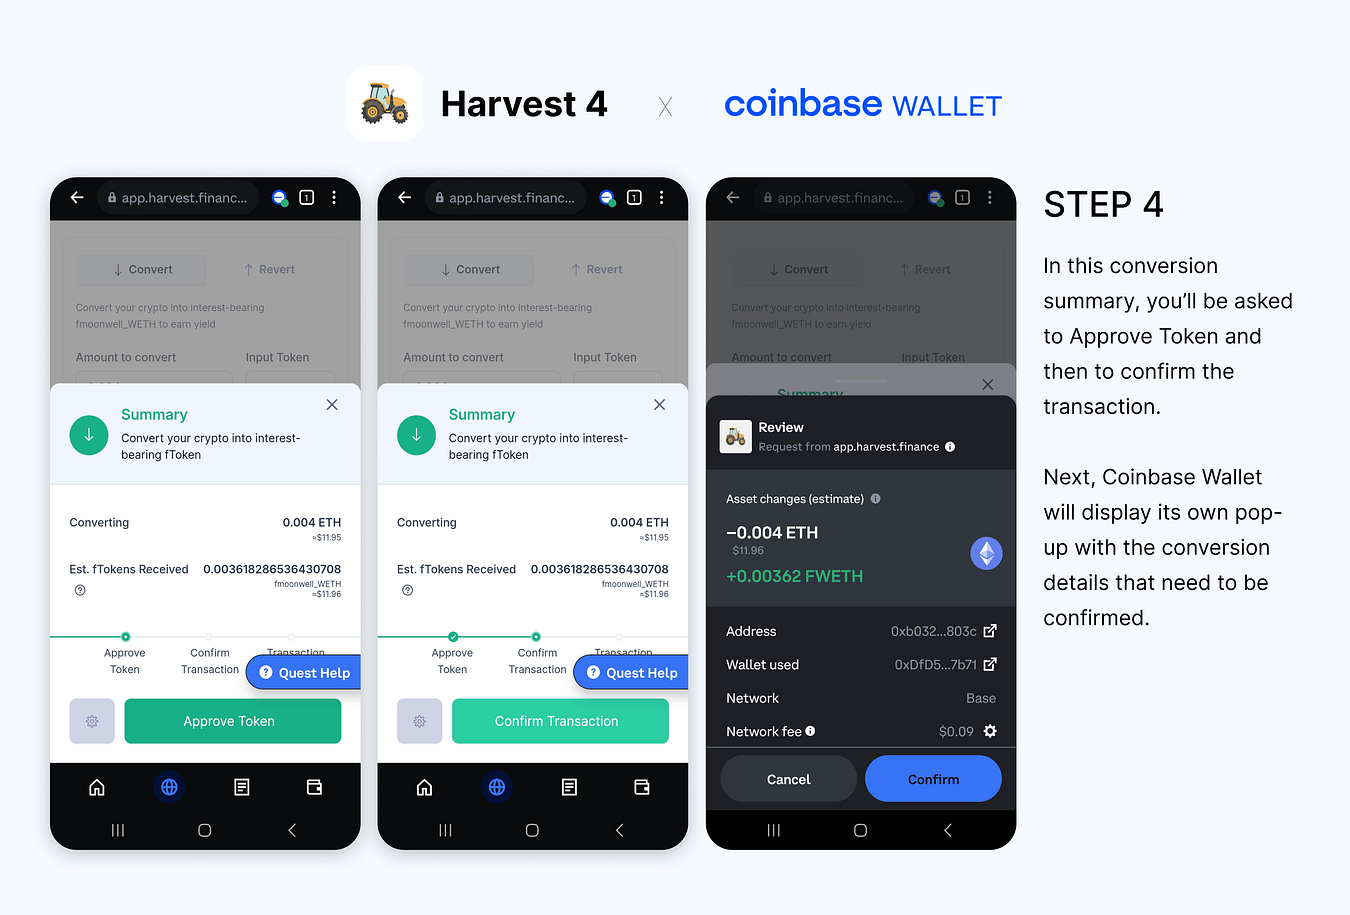
Tip #2: When using ETH, after clicking on [Approve Token], the progress bar immediately moves to the next step. When using any other token, such as USDC, an additional Coinbase wallet pop-up is expected to confirm the use of USDC.
7. Next, we need to confirm the conversion.
By clicking on the [Confirm Transaction] button, we will be prompted by a pop-up from Coinbase Wallet asking us to confirm the transaction and pay the network fee.
Let’s click on the [Confirm] button.
Tip: Network fees can vary depending on network congestion.
8. After that, the button will change to [Pending Confirmation in Wallet]
Once the button changes its wording to [Pending Confirmation in Wallet], it can take up to 1 minute for the network to confirm the conversion.
9. Once the Base network confirms our conversion, we can move to the next step by clicking on [Success! Close this window] button.
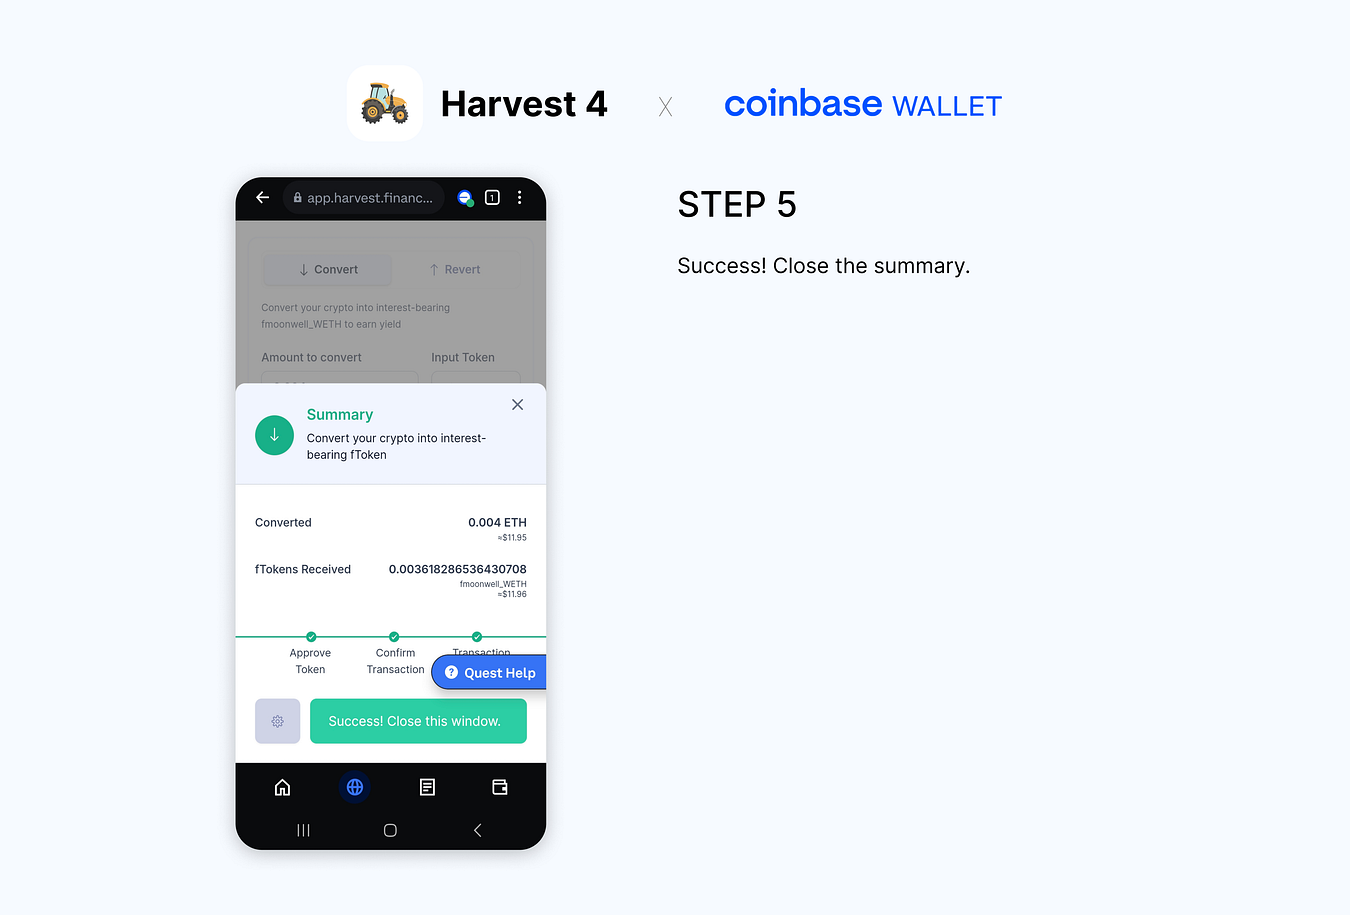
10. Let’s preview the details about our funds in the Beginners farm.
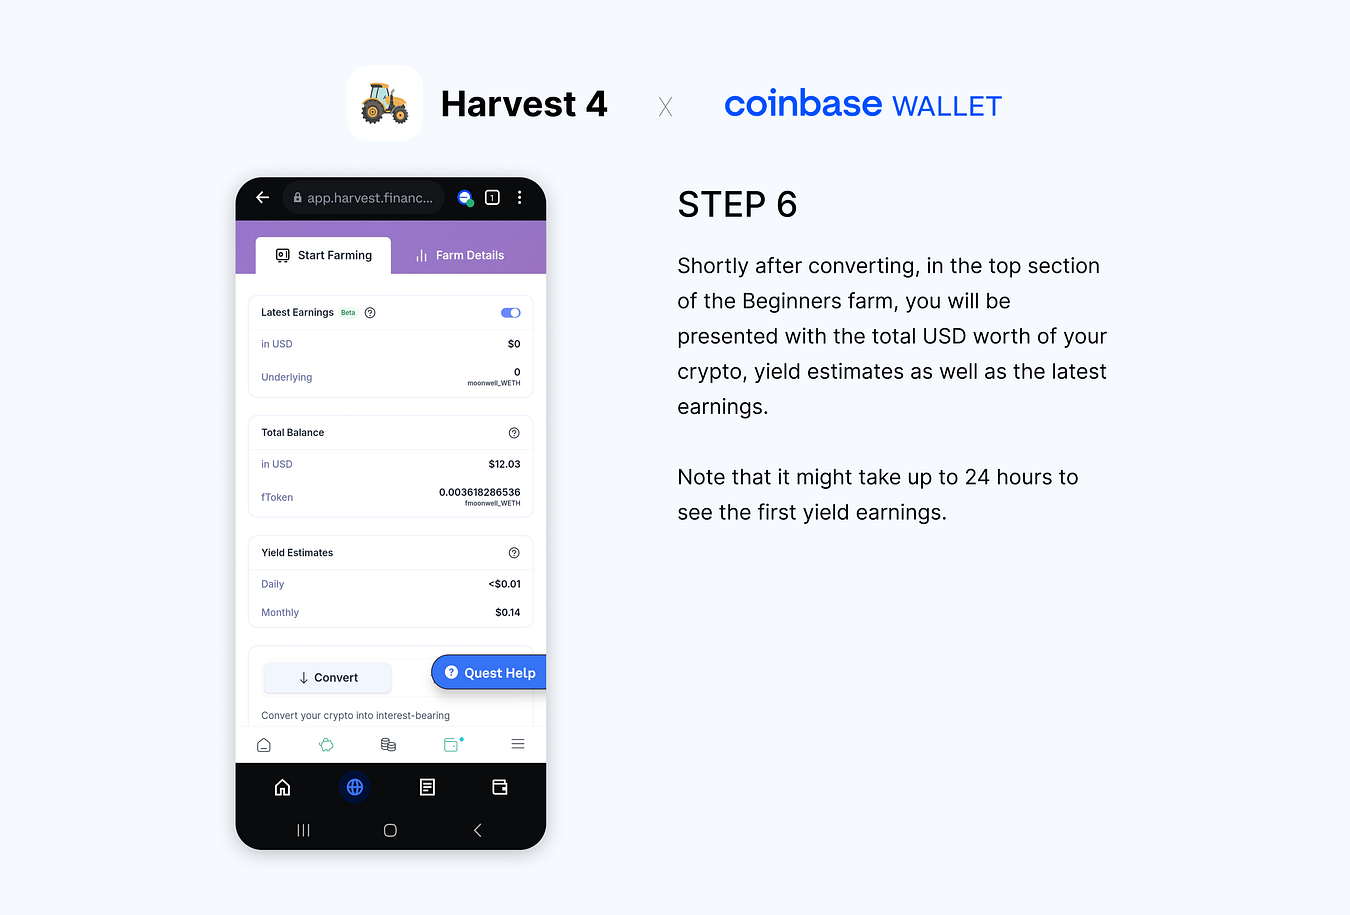
In the top area of the Beginner’s page, we can see basic stats:
Balance: informs us about the USD value of our ETH
Est. Monthly Yield and Est Daily Yield: inform us about future yield at current APY
Note: APY and Balance are subject to change due to market fluctuations.
Underneath, we have two most important stats to monitor:
fmoonwell_WETH Balance: it informs us about the number of interest-bearing tokens in our wallet. It is our receipt, a proof of funds for this farm. We can revert that token to the ETH we started with, plus any accrued yield. This number does not change until we convert more crypto or revert.
Underlying Balance: this number is subject to increase due to Harvest’s auto-compounding, which happens at least once daily on this farm.
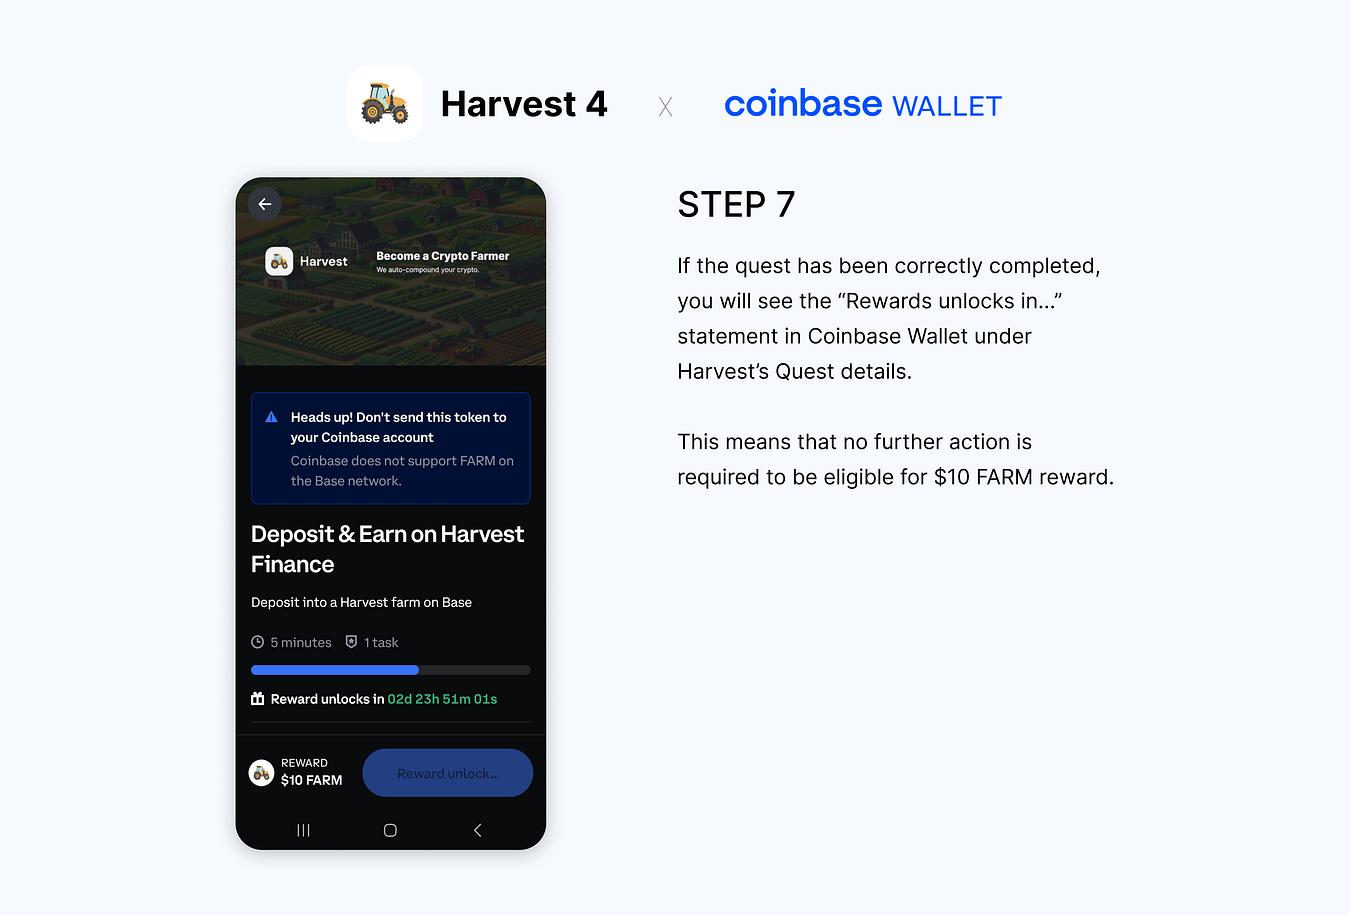
11. Ensure you have correctly completed the Quest
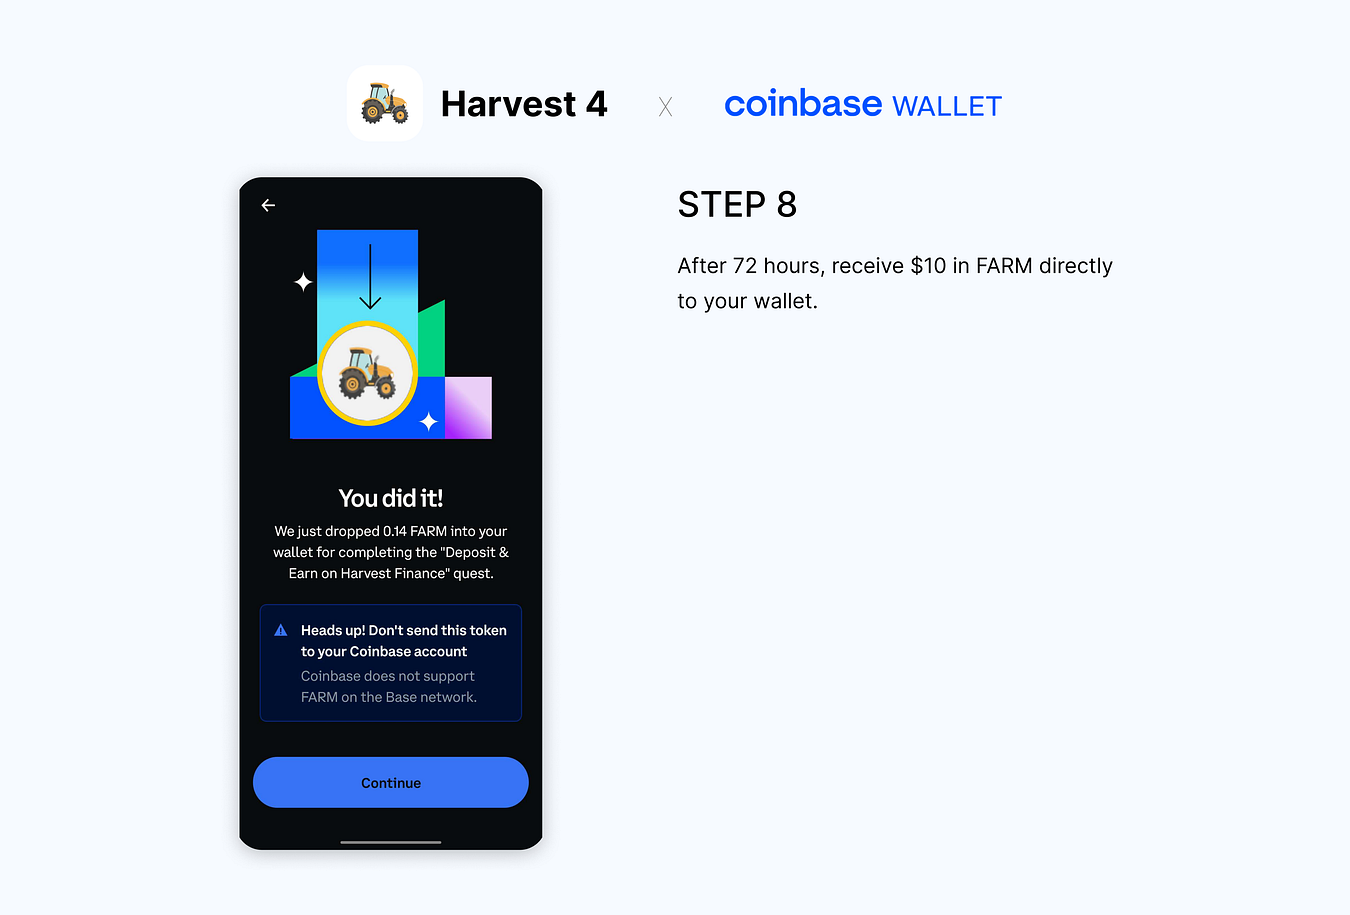
12. Congrats! You’ve become a crypto farmer.
13. Wait, there’s more!
Note that the chart on Beginner’s Farm will be flat shortly after converting. After a day or two, its performance should look like this:
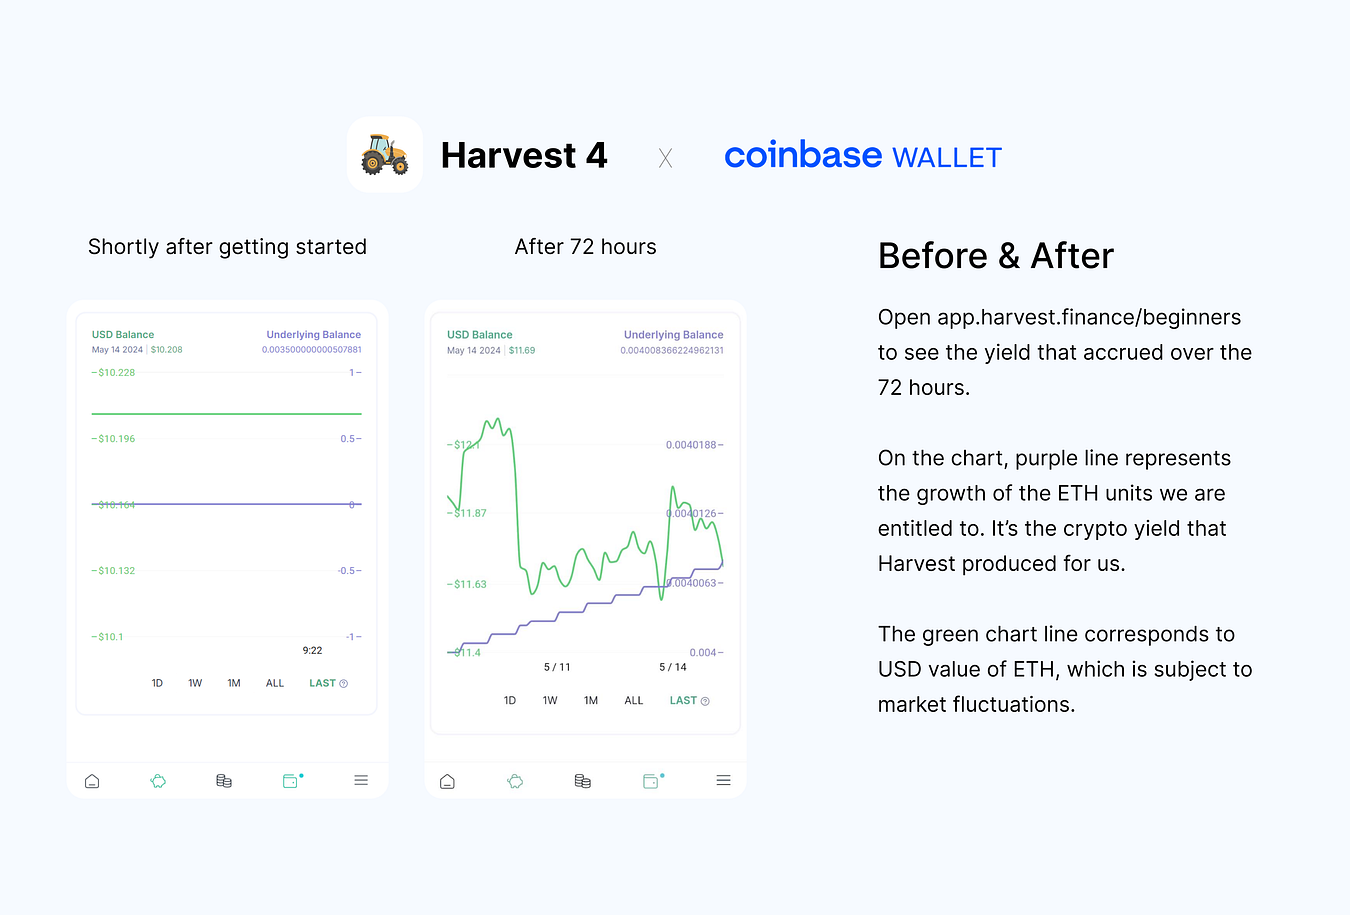
You can visit Harvest’s Beginners section anytime to see how your crypto accrues more ETH. To do that, navigate to the Harvest app via Coinbase Wallet’s native browser to enter the following:
-> https://app.harvest.finance/beginners
Join our community of crypto farmers on Discord and ask us anything about becoming a crypto farmer or if you have any questions related to the Quest.
Last updated
Was this helpful?